Getting started with MVSim - tutorial
MVSim demo worlds are a quick way to explore mobile robot simulation and sensor behavior. This tutorial shows how to launch demos from the command line and through ROS, then inspect topics and control simulated robots. After following it, you will be able to run and interact with MVSim examples.
Goal: Launch MVSim demo worlds both standalone and with ROS 2, and learn how to interact with simulated robots.
Tutorial level: Advanced
Time: 20 minutes
Background
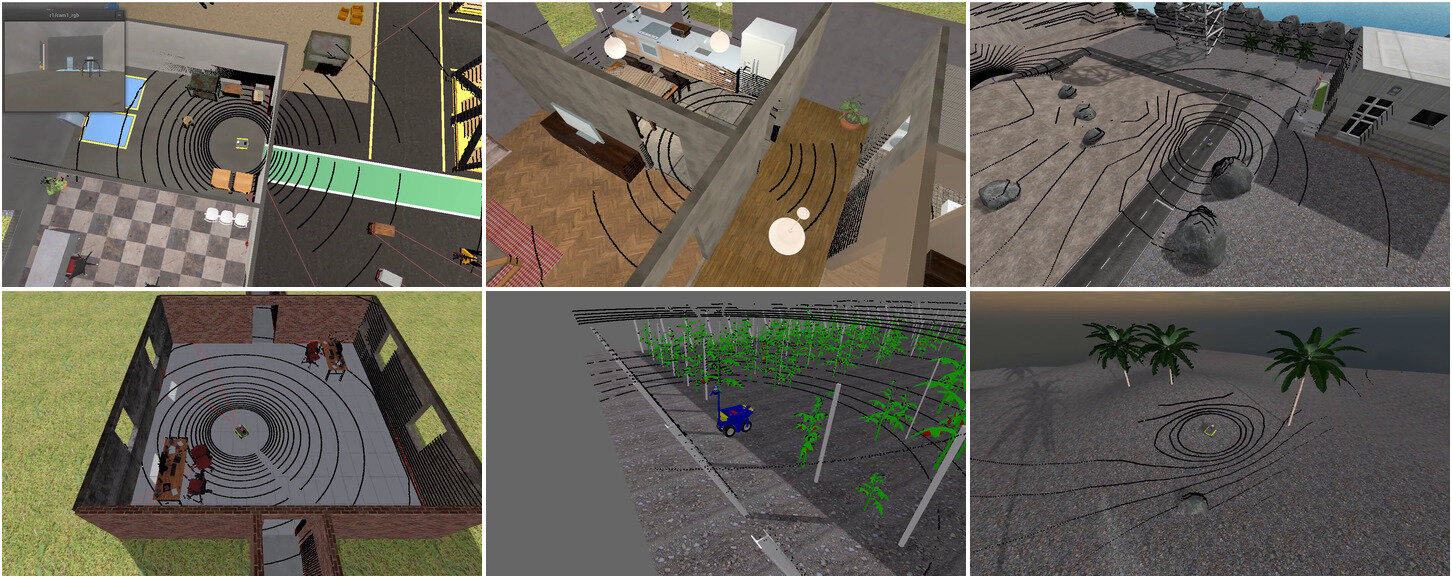
MVSim ships with a collection of demo worlds that showcase different features such as multi-robot simulation,
sensor configurations, terrain types, human actors, articulated vehicles and environment layouts.
You can run these demos either as a standalone application using the mvsim CLI,
or as a ROS 2 node that publishes sensor data and accepts velocity commands through standard ROS 2 topics.
Prerequisites
You should have MVSim installed following the Installing MVSim on Ubuntu - tutorial tutorial.
Tasks
1 Launch demo worlds with the standalone CLI
MVSim includes a standalone launcher that does not require ROS 2. This is useful for quickly testing world files or for non-ROS use cases.
To launch the warehouse demo:
$ mvsim launch ~/ros2_ws/src/mvsim/mvsim_tutorial/demo_warehouse.world.xml
If you installed from binary packages, the demo files are typically found under
/opt/ros/rolling/share/mvsim/mvsim_tutorial/.
Some other demo worlds you can try:
demo_turtlebot_world.world.xml– A TurtleBot3 in a classic ROS-style environment with obstacles.demo_2robots.world.xml– Two robots navigating among furniture blocks.demo_elevation_map.world.xml– A Jackal robot driving over terrain with elevation data.demo_greenhouse.world.xml– A complex greenhouse environment demonstrating XML loops for procedural content.
2 Controlling the robot
Once a world is running, you can control the robot using:
Keyboard: Press W/S to move forward/backward, A/D to turn left/right, and spacebar to stop. If the world has multiple robots, click on a robot in the GUI to select it before using keyboard controls.
Joystick: If a gamepad is connected, it will be automatically detected.

The GUI also provides controls for camera view, simulation speed, and visualization options.
You can toggle orthographic/perspective view and enable visualization of sensor data directly in the 3D window.
Camera sensors show live previews in the GUI.
The GUI sub-windows can be hidden at startup with <show_gui_panels>false</show_gui_panels> in the <gui> section of the world file,
and the depth preview of RGBD cameras can be disabled per sensor with <preview_depth>false</preview_depth>.
3 Launch with ROS 2
To launch MVSim as a ROS 2 node, use the provided launch files:
$ source /opt/ros/rolling/setup.bash
$ ros2 launch mvsim demo_warehouse.launch.py
This starts the simulator and creates ROS 2 topics for each vehicle and sensor.
4 Inspect ROS 2 topics
With the demo running, open a new terminal and list the available topics:
$ ros2 topic list
You should see topics such as:
/robot1/cmd_vel– Sendgeometry_msgs/msg/Twistcommands to control the robot./robot1/odom– Odometry from wheel encoders (nav_msgs/msg/Odometry)./robot1/base_pose_ground_truth– Perfect ground truth pose./robot1/<sensor_name>– Sensor-specific topics (e.g.,/robot1/lidar1_pointsfor 3D LiDAR point clouds,/robot1/laser1for 2D scans)./tfand/tf_static– TF2 transforms following REP-105 (map→odom→base_link).
You can send velocity commands from the command line:
$ ros2 topic pub /robot1/cmd_vel geometry_msgs/msg/Twist "{linear: {x: 0.5}, angular: {z: 0.3}}"
Or use teleop_twist_keyboard for interactive control:
$ ros2 run teleop_twist_keyboard teleop_twist_keyboard --ros-args -r cmd_vel:=/robot1/cmd_vel
5 Visualize in RViz2
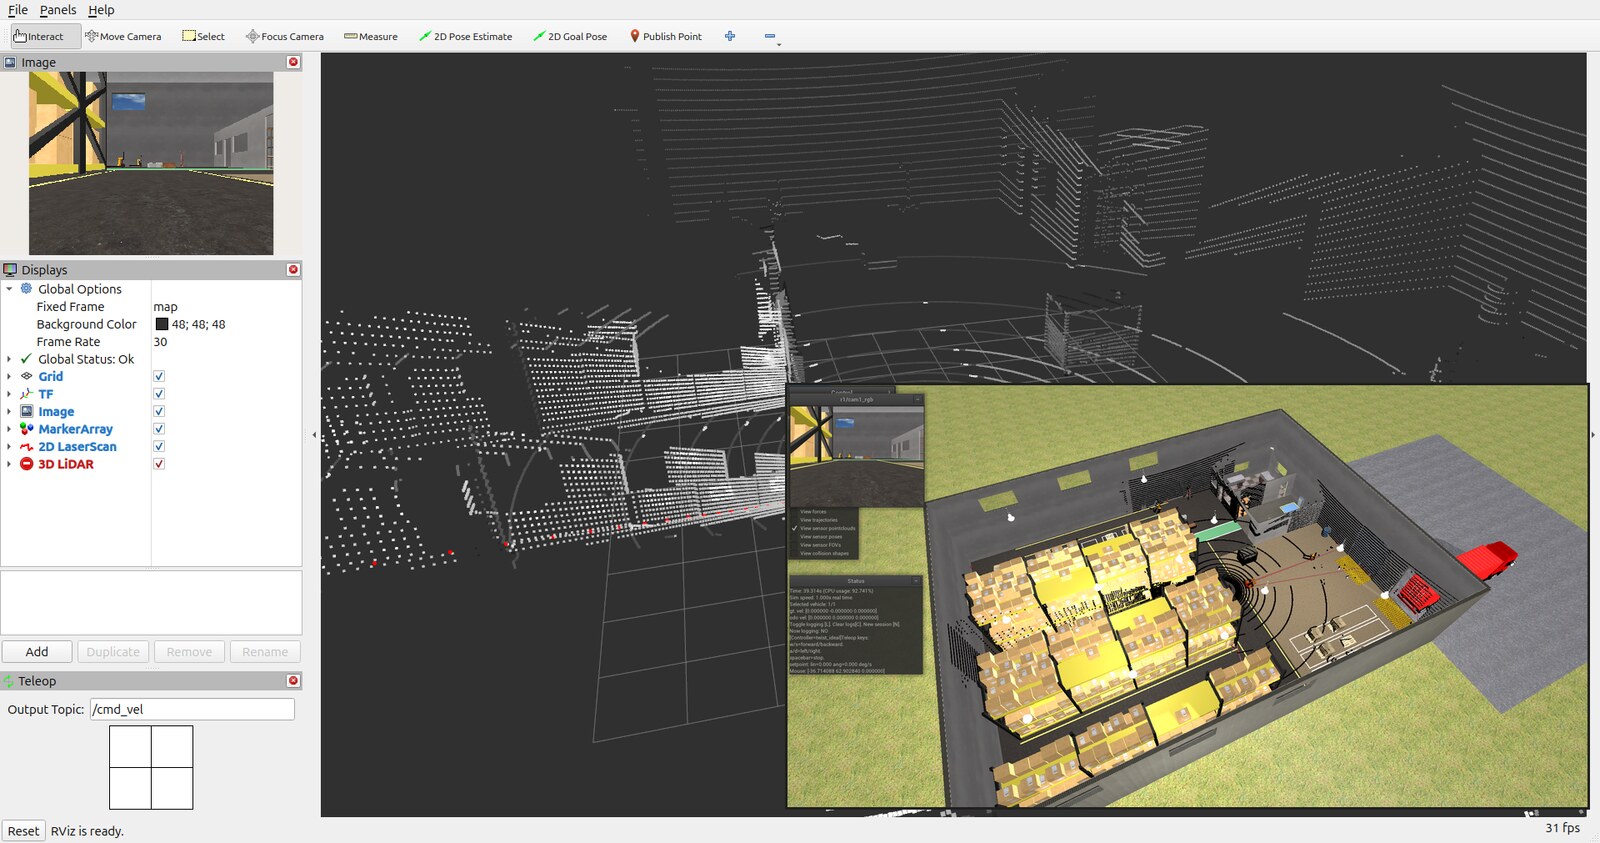
You can visualize MVSim sensor data in RViz2.
Some launch files include an use_rviz option:
$ ros2 launch mvsim demo_warehouse.launch.py use_rviz:=True
Alternatively, open RViz2 manually and add displays for the topics of interest (e.g., LaserScan, PointCloud2, Image, Odometry).
6 Headless mode
For CI pipelines or remote servers without a display, MVSim supports headless operation:
$ ros2 launch mvsim demo_warehouse.launch.py headless:=True
This runs the full simulation without opening a GUI window.
Summary
In this tutorial, you launched MVSim demo worlds both standalone and with ROS 2. You learned how to control robots with keyboard and ROS 2 topics, inspect the published topics, and visualize data in RViz2. The next tutorial covers how to define your own worlds with custom robots and sensors.